Design 3D Printed Enclosure for Arduino Boards Fusion 360
Design 3D Printed Enclosure for Arduino Boards Fusion 360 Free Tutorial Download
What you’ll learn
-
Follow the trend in 3D Printing and manufacturing business
-
Create 3D Enclosure design For free
-
Create Your Frame using specific dimensions
-
Time back feature to fix mistakes
-
Import 3D Models to use them as reference
-
Check your design for errors
-
Create cut outs and shape cuts
-
Integrate 3D modeling and simulation
-
Add your name and artwork
-
Use Extrude, chamfer, split and other techniques
-
Create a 3D Motion Video for your project
-
Create sketches
-
Create parts and build assemblies
-
Automate design modification
-
Create and export a Video for your parts motion
-
Create drawings of your designs
-
Create Motion between parts of your designs
-
Create and Export PDF File for different views of any part
-
Download and Install FREE Fusion 360
Requirements
-
A Computer or Laptop with an Active internet connection
Description
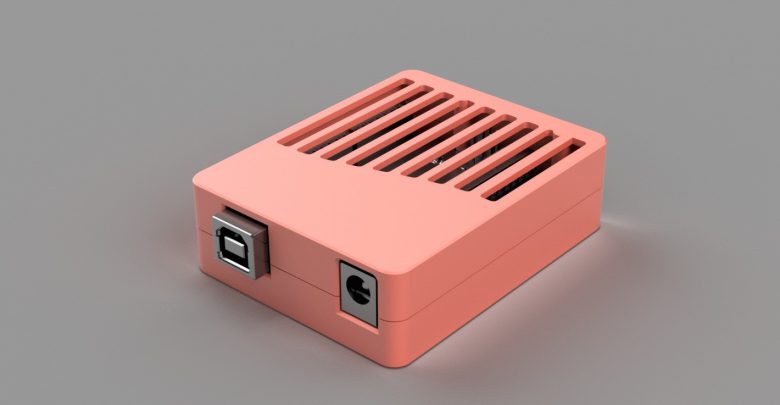
In this course, you will learn how to create 3D Printed Enclosure for any Custom Microcontroller or electronic Board like Arduino UNO and Mega.
Welcome to this course.
This course will take you from zero experience in 2D Sketching and 3D Modeling to a professional who can build Professional 3D Enclosure, and turn them into production-ready products.
You will learn by practice: You will follow my steps to create 3D Enclosure for Arduino UNO and Arduino Mega!
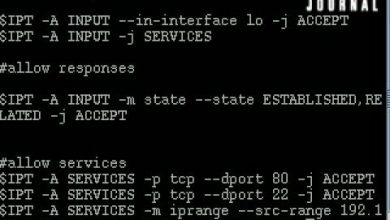
This is a state of the art software that provides you with a complete experience to draw your 2d Sketches and control every single detail on each part, it allows you to check your design for errors before moving forward to the manufacturing. Plus a time back feature to fix any issue that you made without having to re-do everything.
You’ll also get a 3D visualization of your design that you can easily use in creating a 3D case for your PC.
Stop using old school software that limits your possibility and start using one of the most trending software out there provided by Autodesk company, kickstart your freelancing career in 3D design, simulation, and manufacturing.
This software provides you with CAD/CAM and simulation capabilities to help you achieve your full potential and test your design before moving to the permanent prototype.
Fusion 360 workspace expands the capabilities of Fusion 360 to create PROFESSIONAL 3D designs.
What You Will Learn:
- Download and Install FREE Fusion 360
- User Interface Explained
- Create Your Frame using specific dimensions
- Use Extrude, chamfer, split and other techniques
- Time back feature to fix mistakes
- Check your design for errors
- Import 3D Models to use them as reference
- Create cut-outs and shape cuts
- Add your name and artwork
- Create a 3D Motion Video for your project
Who this course is for:
- Anyone who is looking to follow the trend in 3D manufacturing business
- Anyone who’s looking for a software that is free And has tons of Features To be used.
- Anyone who is looking to integrate 3D modeling and simulation
- Anyone who wants to be familiar with the fusion 360
- Engineering Students – Electronics, Electrical & Computer Science
- High School Science Students
- Electronic Geeks, Hobbiest & Art Students
- Embedded Systems Geeks
- 3D Geeks and Fans
- Inventors and Designers
- Anyone looking to Learn how to create 3D Printed Enclosure for any Custom Microcontroller or electronic Board like Arduino UNO and Mega
Download Design 3D Printed Enclosure for Arduino Boards Fusion 360 Free
https://horizoncsueastbay-my.sharepoint.com/:u:/g/personal/fbhat_horizon_csueastbay_edu/EXHlWNzg0AxMuR8d6eVh6SgBJGXIXSQgosw9TZAsE_yX3A
https://bayfiles.com/f8R6b8d6p5
https://drive.google.com/file/d/1Dc12-ySpzuAujrr9UYRjHU7gs5AzLl3k/view?usp=sharing
https://uptobox.com/ua6u1las88tm